

NaN / 0
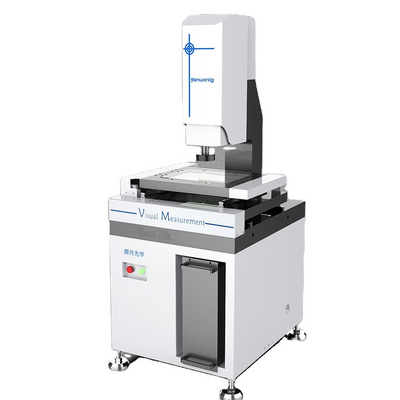
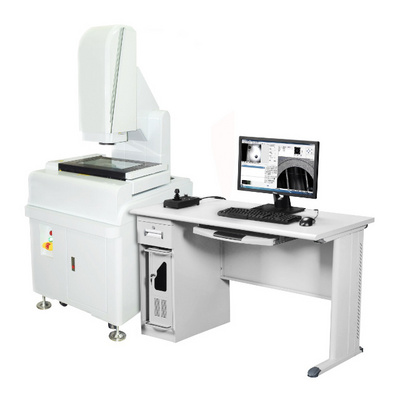
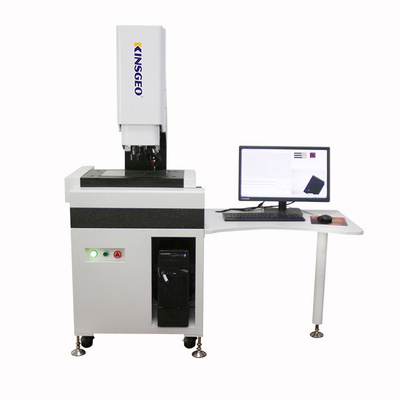
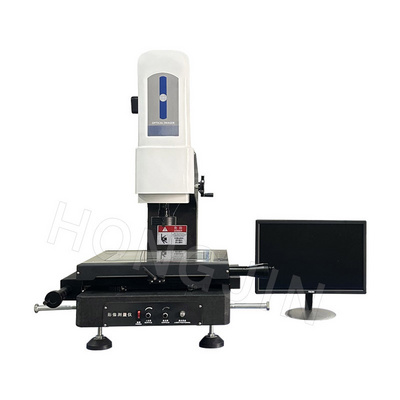
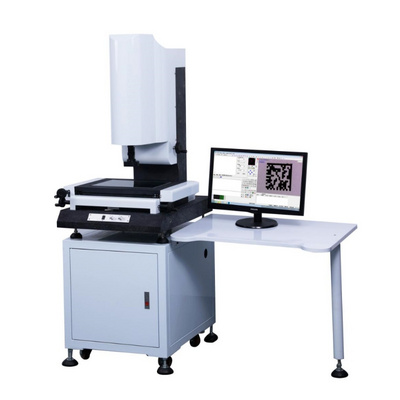
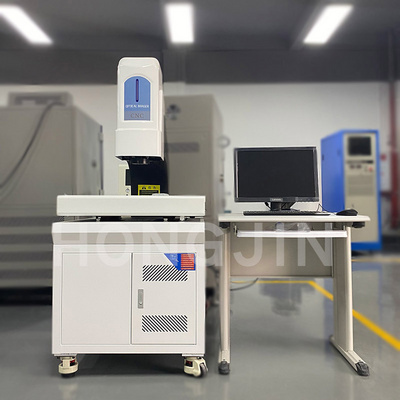
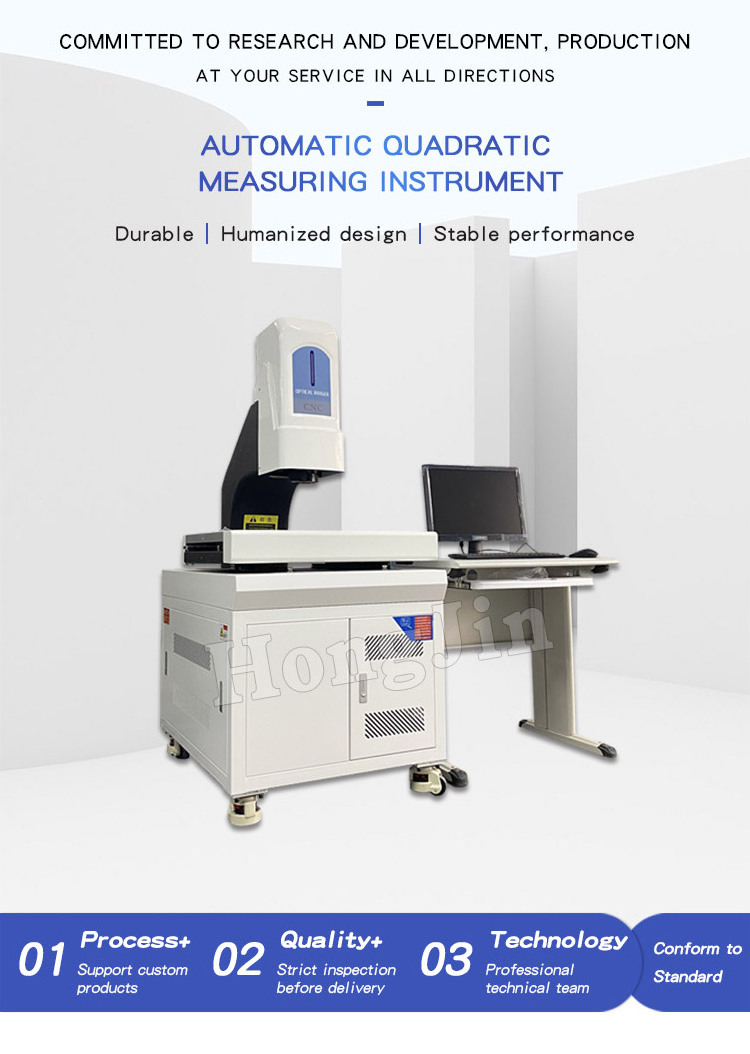
Fully Automatic Two-Dimensional Measuring Instrument Optical Image Measuring Instrument Video Measuring Instrument
Get Latest Price
US$ 460
≥1 Sets
Quick Details
Warranty:
1 Year
Power:
Electronic
Place of Origin:
Guangdong, China
Brand Name:
Hong Jin
Product Details
Product Paramenters
Scope of application:
An optical microscope is used to magnify and image the object to be measured at a free magnification. Through the CCD camera system, the magnified image of the object to be measured is transmitted to a computer connected to the instrument. The geometric dimensions of the object are measured and drawn using computer software, and the object can be measured and drawn. Data tabulation and post-processing are used for non-contact and efficient detection of geometric quantities of various complex workpieces. It is suitable for engineering development, drawing and product surveying and inspection of machinery, electronics, electrical appliances, molds and precision hardware.
Features:
1. The high-precision granite base, columns, and workbench are made of high-hardness aluminum alloy.
2. High-intensity surface oxidation treatment, suitable for high-speed movement, ensuring long-term stable operation of the machine.
3. High-performance four-axis CNC fully closed-loop servo control system, high-speed and stable operation.
4. All three axes adopt German toothless polished rod transmission technology, which will never wear out, run smoothly and quietly, and position accurately.
5. Advanced XYZ flatness and verticality accuracy calibration methods ensure true spatial accuracy and can be equipped with coaxial light lenses.
6.Inspect3D software has a friendly interface, simple operation, fast auto-focus, automatic edge finding, powerful programming and automatic measurement functions.
7. Equipped with powerful SPC statistical functions, which greatly improves management efficiency.
8. Reserve space for upgrading (matching automated production lines).
|
Model
|
|
3020
|
4030
|
5040
|
|||
|
Range of travel
|
X(mm)
|
300
|
400
|
500
|
|||
|
|
Ymm)
|
200
|
300
|
400
|
|||
|
|
Zmm)
|
200
|
200
|
200
|
|||
|
Main structure
|
|
Column type
|
|
|
|||
|
Rack Material
|
|
Marble
|
|
|
|||
|
Dimensions (㎜)
|
|
720×1200×1700
|
850×1280×1700
|
950×1350×1700
|
|||
|
Instrument weight (kg)
|
|
400
|
480
|
650
|
|||
|
Weight (kg)
|
|
25
|
25
|
25
|
|||
|
Mains power
|
|
1500W
|
2000W
|
2500W
|
|||
|
Monitor
|
|
24-inch LCD monitor (1920×1080)
|
|
|
|||
|
Image Sensor
|
|
HD Color Industrial Camera
|
|
|
|||
|
Camera lens
|
|
6.5X manual zoom lens (optical magnification: 0.7X~4.5X)
|
|
|
|||
|
Raster display resolution
|
|
0.5μm
|
|
|
|||
|
Motion guide
|
|
Precision Linear Guide
|
|
|
|||
|
Lighting system
|
Transmitted light
|
LED telecentric through-illumination
|
|
|
|||
|
|
surface light
|
5-ring and eight-area divided lighting, adjustable from 0 to 255 levels
|
|
|
|||
|
Detection accuracy*1
|
X/Y axis
|
E1x/y≤±(2.5+L/200)μm
|
|
|
|||
|
|
Z axis*2
|
E1z≤±(5.0+L/200)μm
|
|
|
|||
|
Maximum speed
|
XY(㎜/s)
|
500
|
|
|
|||
|
|
Z(㎜/s)
|
100
|
|
|
|||
|
Sensor configuration*3
|
|
(1) Touch probe; (2) White light confocal; (3) Triangle laser
|
|
|
|||
|
Sport control
|
|
Servo control system
|
|
|
|||
|
Measurement software
|
|
VisionX Pro
|
|
|
|||
|
Operating Voltage
|
|
200-240VAC, 50/60Hz
|
|
|
|||
|
Working environment
|
|
Temperature 20℃±2℃, humidity 20~80% (non-condensing)
Vibration <0.002g, lower than 15HZ |
|
|
|||
|
|
|
|
|
|
|||
Products Description


Hot Searches


