

NaN / 0
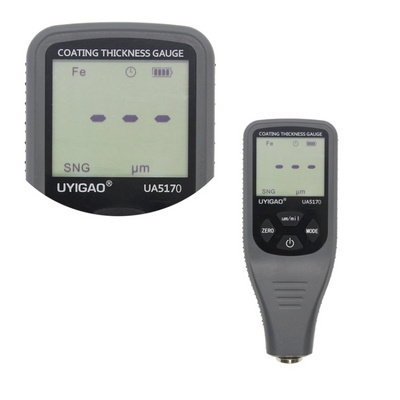
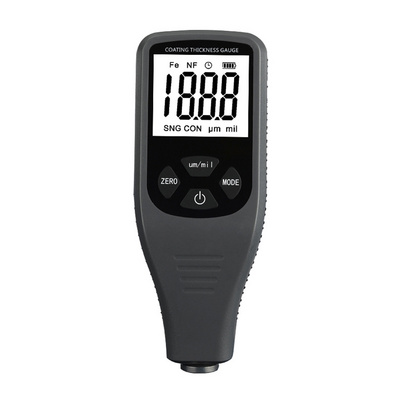
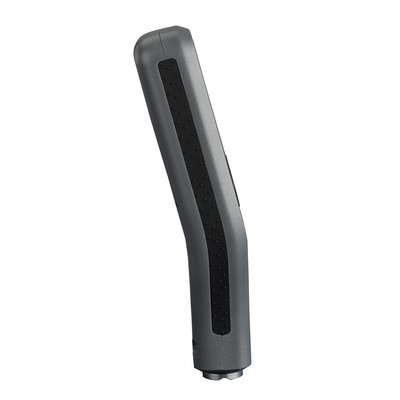
Best Price Digital Measurement Thicknessgauge Thicknessmeter Coating Thickness Gauge Thickness Meter
Get Latest Price
US$ 86
≥2 Pieces
US$ 83
≥60 Pieces
US$ 79
≥200 Pieces
Quick Details
Place of Origin:
Guangdong, China
Product name:
Coating Thickness Gauge
Theory:
0 to 1300um
Accuracy:
0.1um
Product Details
Product Description
Best Price Digital Measurement Thicknessgauge Thicknessmeter Coating Thickness Gauge Thickness Meter
Specifications:
|
|
Probe F |
Probe N |
|
Principle |
Magnetic Induction |
Eddy Current |
|
Range |
0~1300um 0~51.2mil |
0~1300um 0~51.2mil |
|
Accuracy |
±(2.5%+1um) ±(2.5%+0.04mil) |
±(2.5%+1um) ±(2.5%+0.04mil) |
|
Resolution |
0.1um/0.01mil |
0.1um/0.01mil |
|
Calibration |
Points: ZERO/50/100/250/500/1000um |
|
|
Units |
um, mil |
|
|
minimum curvature radius convex: 1.5mm |
||
|
minimum curvature radius concave: 25mm |
||
|
minimum measuring area: Diameter 6mm |
||
|
minimum thickness of substrate |
0.5mm(0.02”) |
0.3mm(0.012”) |
|
Power |
4 x AAA batteries |
|
|
Operation Environment |
Temperature:0~40℃(32~104℉) Humidity:20%~90%RH |
|
|
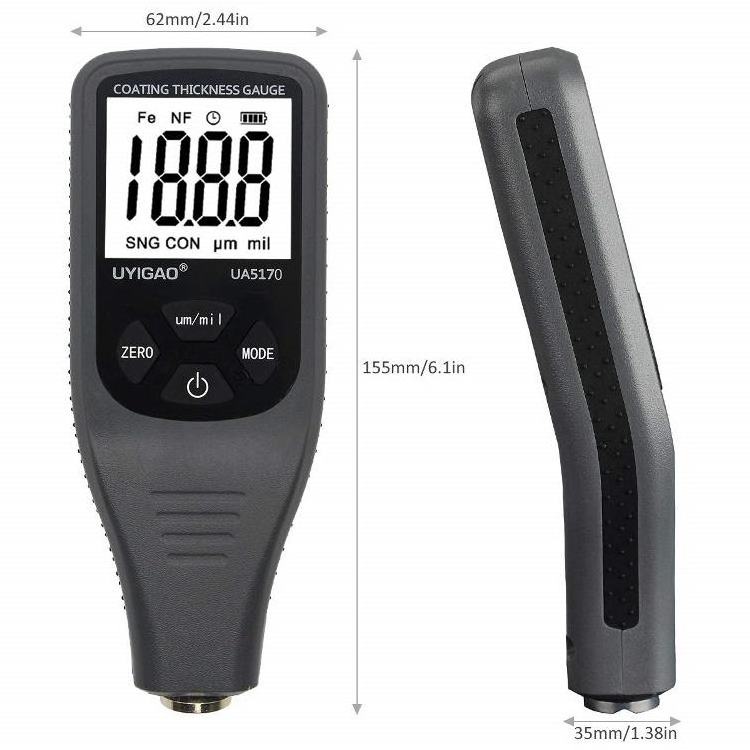
Size |
155mm x 62mm x 35mm (6.10” x 2.44” x 1.38”) |
|
|
Weight |
125g(4.41oz) |
|
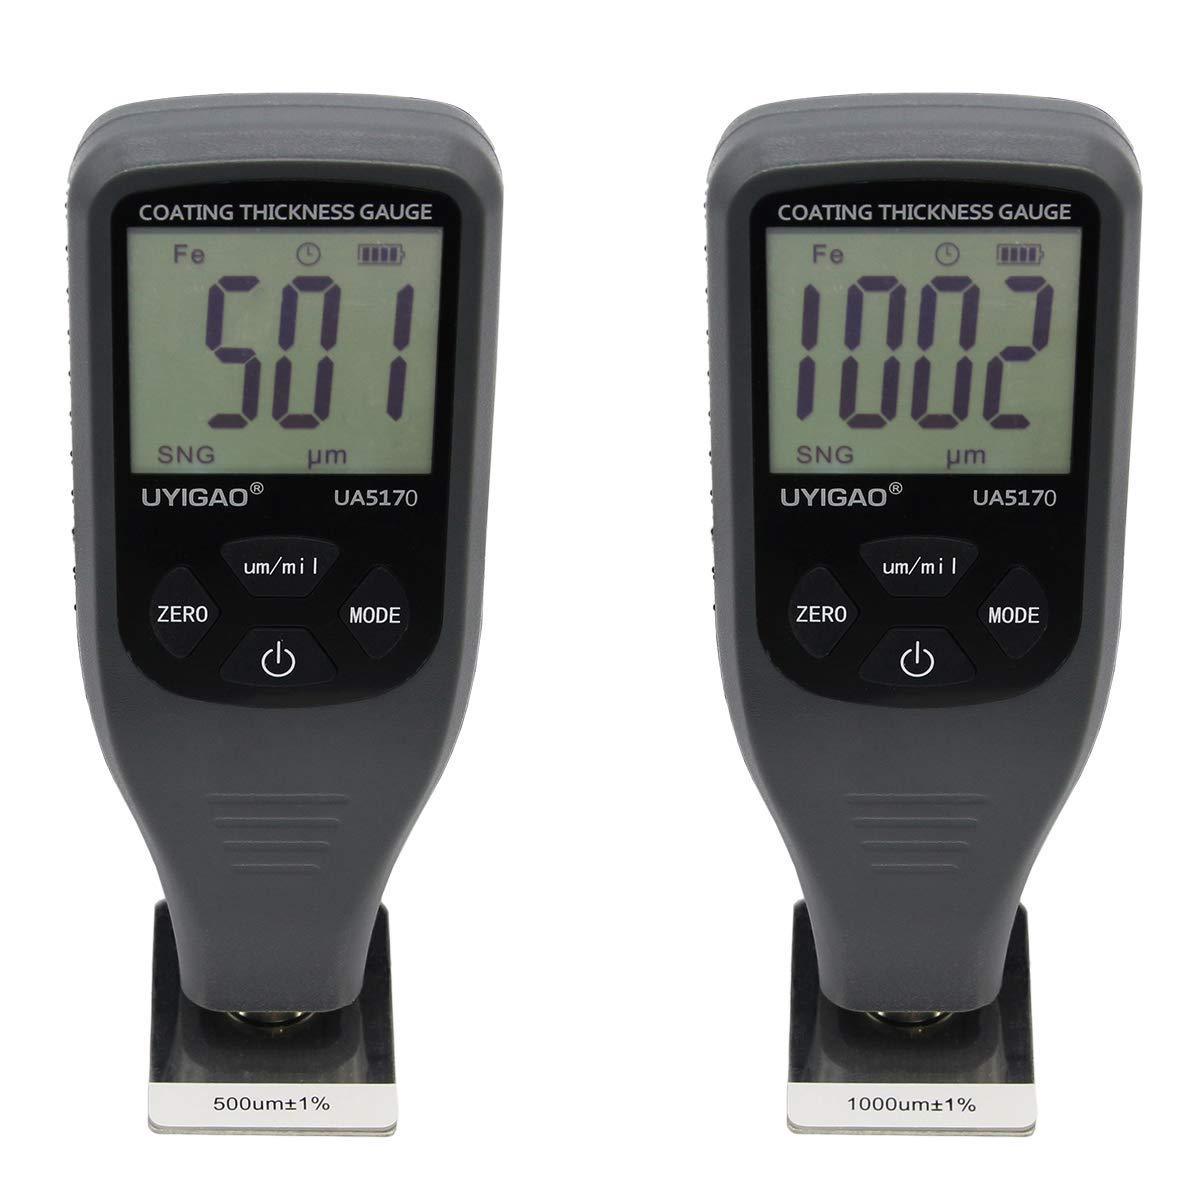
1. Measuring principle: Magnetic induction (F-probe) and eddy current (N-probe);
2. Measuring range: 0 to 1300um
3. Accuracy: ± (2.5% of readings+1um);
± (3% of readings+0.078mils);
4. Resolution: 0um~900um (1um), 900um~1300um (0.01mm);
5. Calibration: One to four point calibration, zero calibration;
6. Data Group: One direct group (readings not be stored to memory), four general group (readings can be stored), and each group have individual statistics, alarm settings and calibration;
7. Statistics: No. of readings, mean, minimum, maximum and standard deviation;
8. Units: um, mm and mils;
9. Alarm: User can set the high/low alarm, and alarm icon displayed on LCD when over the limit;
10. Minimum curvature radius: convex 1.5mm(59mils) and concave 25mm(984mils);
11. Minimum measuring size: Diameter 6mm(236mils);
12. Minimum thickness of substrate: F-probe: 0.5mm(0.02"), N-probe: 0.3mm(0.012");
13.Computer interface: Download data via USB interface;
14. Power supply: Two 1.5v AAA battery;
15. Operation temperature: 0°C to 40°C(32°F to 104°F);
16. Storage temperature: -20°C to 70°C(-4°F to 158°F);
17. Size: 110mm*53mm*24mm (4.33"*2.09"*0.94");
18. Weight: 100g ;
NOTE: not included batteries.

Description :
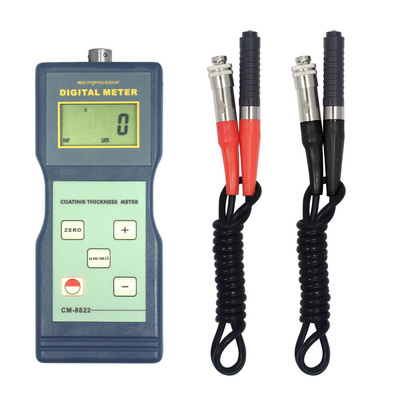
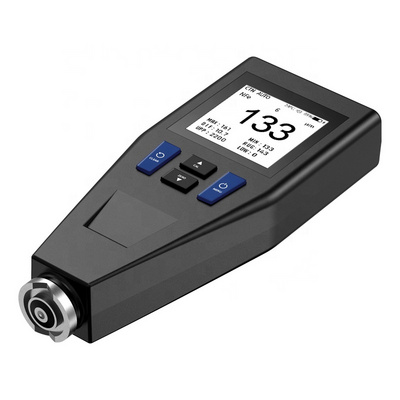
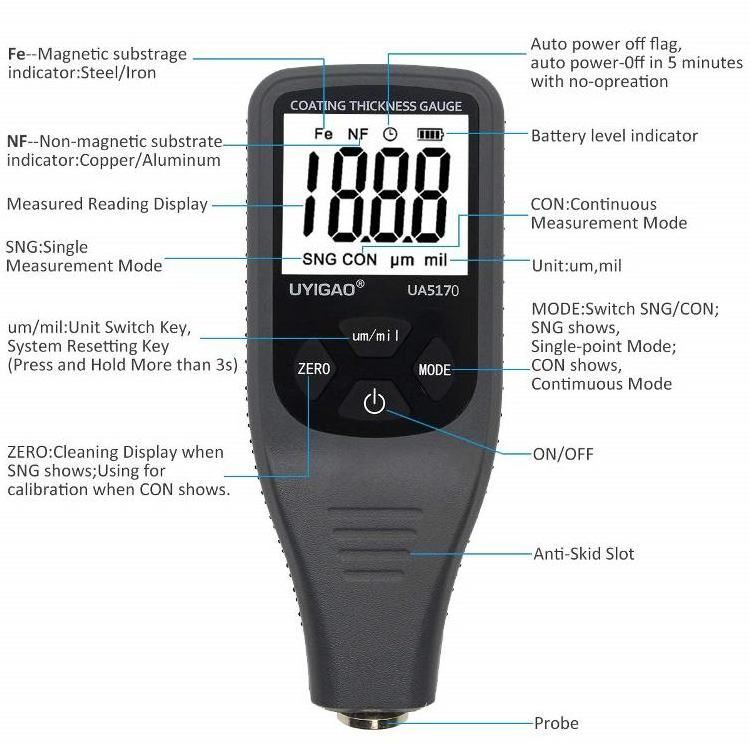
The coating thickness gauge is designed for non-destructive, fast and precise coating thickness measurement. It works either on the magnetic induction principle or on the eddy current principle, depending on the type of probe used. This gauge has internal F probe and N probe.
F probe can be used for non-magnetic coatings such as aluminium, chrome, copper, zinc, paint and varnish,enamel, rubber etc., on an iron or steel substrate; It is also suitable foralloyed and hardened magnetic steel(however, not suitable for austenic steel).
N probe can be used for insulating coatings e.g. paint, anodizing,ceramics, etc., on all non-ferrous metals such as aluminium, copper, zinc die casting, brass etc. and on austenitic stainless steels.
It is ideal for manufacturers and their customers, for offices and specialist advisers, for paint shops and electroplaters, for the chemical, automobile, ship building and aircraft industries and for heavy engineering. It is suitable for laboratory, workshop and outdoor use.
Features:
1. 128*128 dot matrix LCD display, standard menu operations;
2. Two measure mode: single and continuous;
3. Two group mode:direct(DIR) and general(GEN), readings will be lost when power off in direct mode, and not be lost in general mode. 80 readings can be stored for each group;
4. Zero point calibration and multi-point calibration(up to 4 points) for each group;
5. User can recall, delete specified readings, or delete group readings;
6. Statistics display: mean, minimum, maximum and standard deviation;
7. Three probe mode:auto, magnetic and eddy current;
8. User can set high or low limit alarm for each group;
9. Power off automatically;
10. USB interface to data transmission;
11. Low battery and error indication.
Package Include:
| 1 x | The Coating Thickness gauge |
| 1 x | Aluminium substrate |
| 1 x | Standard foil |
Related Products:
Packaging & Shipping
Our Services

